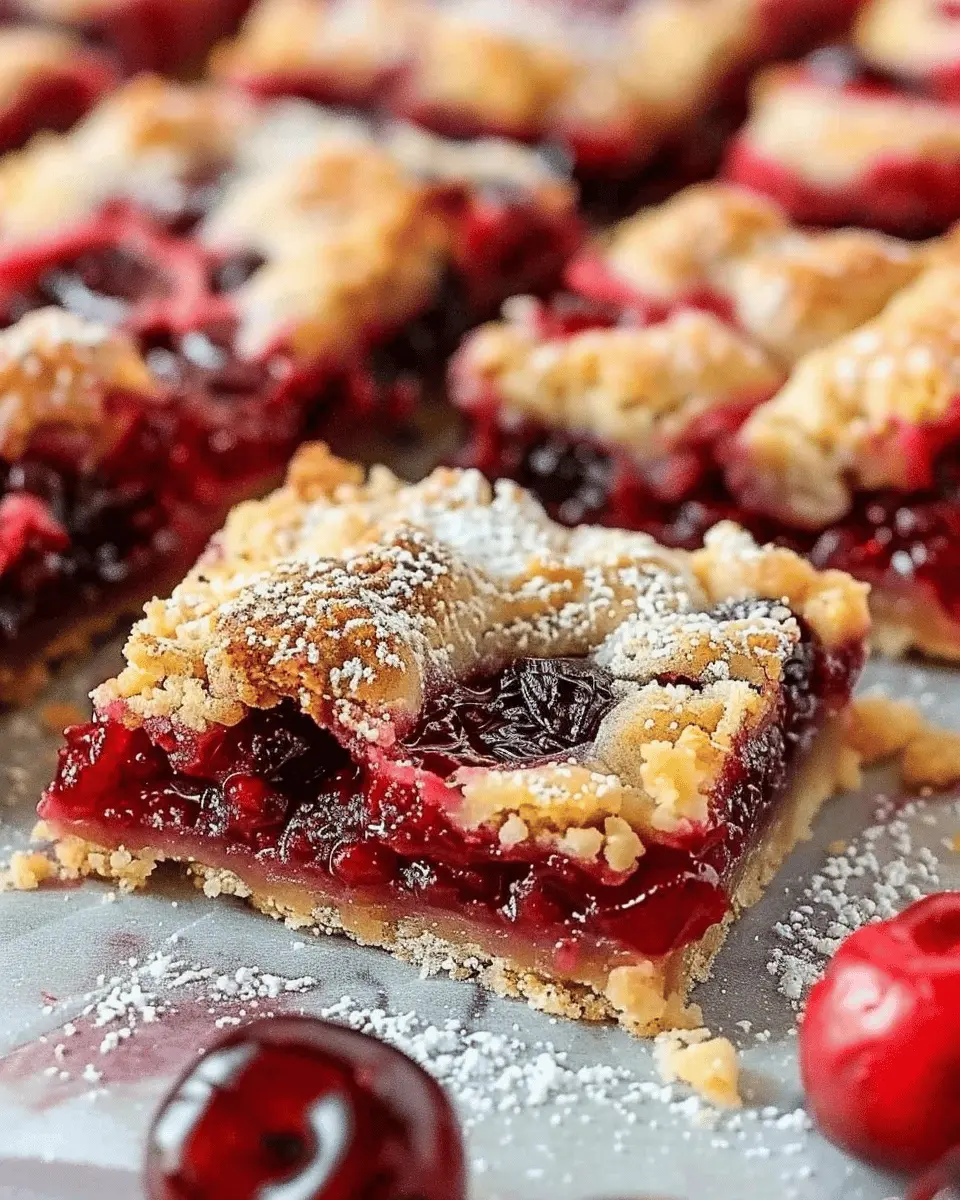
Introduction to Cherry Pie Bars Recipe
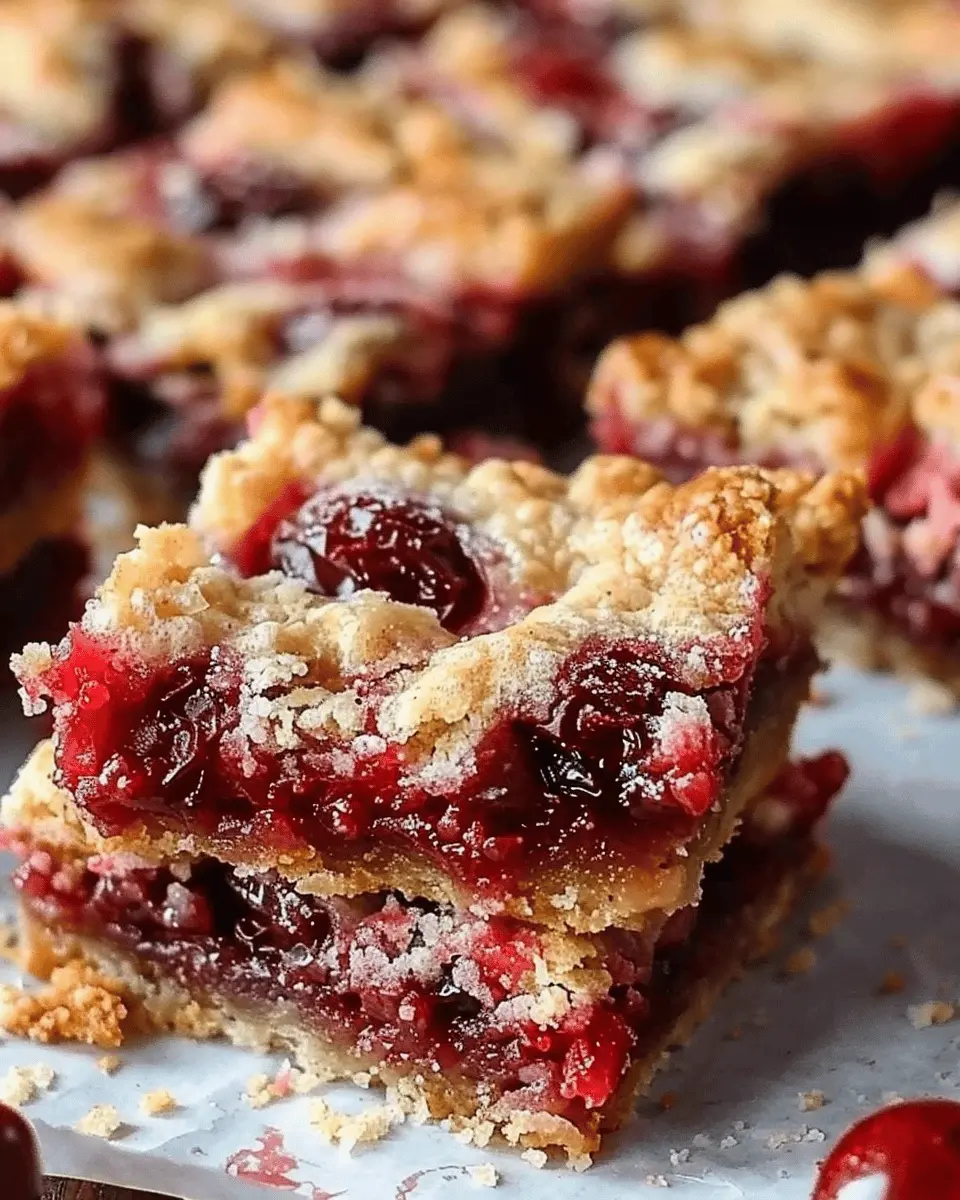
When life gets busy, but your sweet tooth still craves a delightful treat, Cherry Pie Bars come to the rescue. These delectable dessert squares perfectly combine the beloved flavors of cherry pie with the convenience of an easy-to-make bar, making them a hit among young professionals who juggle work, social lives, and everything in between.
Why Cherry Pie Bars are Perfect for Young Professionals
One of the best parts about this Cherry Pie Bars Recipe is its simplicity. Young professionals often find themselves short on time, yet still want to enjoy delicious homemade treats. These bars can be whipped up quickly on a weekend and stored for those busy weekdays, making them an ideal solution for satisfying dessert cravings without the fuss.
Moreover, there’s something incredibly satisfying about biting into a warm, gooey cherry pie bar after a long day at work. The tartness of the cherries blends beautifully with a sweet, buttery crust, providing the perfect comfort food experience. In a world where stress seems to reign, these bars can offer a moment of bite-sized bliss.
You might be wondering about versatility. Not only can you enjoy these bars on their own, but they also make a fantastic addition to gatherings: think picnics, potlucks, or casual get-togethers with friends. Want to elevate your dessert game? Consider pairing them with a scoop of vanilla ice cream or a dollop of whipped cream to reach new heights of deliciousness.
To ensure that you’re making the best possible cherry pie bars, you might want to check out resources from America’s Test Kitchen or Serious Eats for tips on selecting the freshest cherries.
Given their delightful flavor and ease of preparation, Cherry Pie Bars are destined to become a staple in your dessert repertoire. Stay tuned for the complete recipe that’s not only easy to follow but also rewarding to taste!
Ingredients for Cherry Pie Bars
Essential ingredients for the crust
When crafting the perfect cherry pie bars, the crust sets the stage for the delightful flavors ahead. You’ll need:
- All-purpose flour: 2 cups for a sturdy base.
- Granulated sugar: 1/2 cup to enhance sweetness.
- Butter: 1 cup, unsalted and cold. It creates that flaky texture we all crave.
- Salt: Just a pinch to balance the flavors.
- Egg yolk: One large yolk to add richness and bind everything together.
Feel free to explore more about choosing the right flour here for your baking needs!
Key components for the filling
The filling is where the magic happens! For your cherry filling, gather:
- Fresh or frozen cherries: 4 cups, pitted, of course. Tart cherries work best for that authentic flavor.
- Sugar: 1 cup to sweeten the mix.
- Cornstarch: 2 tablespoons to thicken and maintain that luscious consistency.
- Lemon juice: 1 tablespoon adds acidity, enhancing the cherry flavor.
Curious about the differences between fresh and frozen cherries? You can read more about it here.
Topping essentials for that perfect crunch
To crown your cherry pie bars with a delightful crunch, you’ll need:
- Oats: 1 cup gives a hearty texture.
- Brown sugar: 1/2 cup adds depth and caramel notes.
- Flour: 1 cup to create the right body.
- Butter: 1/2 cup, melted for that irresistible crunch.
With these ingredients in hand, you’re all set to whip up some delightful cherry pie bars! These treats not only offer a burst of cherry goodness but also blend nostalgia and warmth, making them a perfect addition to any gathering or simply for a cozy night in.
Preparing Cherry Pie Bars
When it comes to easy yet delicious desserts, cherry pie bars are a delightful option that combines the sweet and tart flavor of cherries with a buttery, crumbly base. If you love cherry pie but want something a bit more portable and easy to serve at gatherings, you’re in the right place. Let’s dive into the step-by-step process of making these irresistible cherry pie bars.
Preheat the oven and prepare your pan
Before you do anything else, it’s essential to get your oven preheating. Set it to 350°F (175°C) so that it’s nice and hot when it’s time to bake your bars. Meanwhile, grab a 9×13 inch baking dish and grease it lightly with butter or line it with parchment paper. This little prep step ensures your cherry pie bars come out effortlessly and won’t stick to the pan, making clean-up a breeze.
Make the shortbread crust
Next, let’s whip up that delicious shortbread crust that’s the foundation of your bars. In a mixing bowl, combine:
- 2 cups of all-purpose flour
- 1/2 cup of powdered sugar
- 1 cup of unsalted butter (softened)
- 1/4 teaspoon of salt
Using a pastry cutter or your hands, mix these ingredients until you see a crumbly consistency forming. The mixture should hold together when pressed. Pack it firmly into the bottom of your baking dish, then pop it in the oven for about 15-20 minutes until it’s just lightly golden. This short, pre-bake will help maintain the crust’s structural integrity against the cherry filling.
Spread the cherry filling
While the crust is baking, it’s time to prepare that luscious cherry filling. You can use fresh or frozen cherries, but if you’re in a rush, canned cherries work great too. In a medium saucepan, combine:
- 2 cups of pitted cherries (fresh or frozen)
- 1/2 cup of granulated sugar (adjust based on the tartness)
- 2 tablespoons of cornstarch
- 1 tablespoon of lemon juice
Cook the mixture over medium heat until it starts to bubble and thicken, about 5-7 minutes. If you’re using fresh cherries, feel free to add a splash of almond extract for that classic cherry pie flavor. Once your filling is ready, spread it evenly over the pre-baked crust in the pan.
Prepare the crumb topping
Now for the pièce de résistance: the crumb topping! In a clean bowl, combine:
- 1 cup of all-purpose flour
- 1/2 cup of rolled oats
- 1/2 cup of packed brown sugar
- 1/2 teaspoon of cinnamon (for warmth)
- 1/2 cup of cold unsalted butter (cubed)
Using your fingers or a pastry cutter, mix these ingredients until you achieve a crumbly texture. Sprinkle the topping generously over the cherry filling. This crumb layer adds sweetness and texture that beautifully complements the tart cherries.
Bake to perfection
Finally, the moment you’ve been waiting for! Place your pan back in the preheated oven and bake the cherry pie bars for approximately 25-30 minutes or until the topping is golden brown and the filling is bubbling around the edges. Once baked, remove the pan from the oven and allow the bars to cool completely in the pan on a wire rack. They’ll firm up as they cool, making them easier to slice.
Cut into squares and enjoy these delightful cherry pie bars at your next gathering! Whether you’re serving them at a picnic or as a dessert at a dinner party, these bars are bound to impress your friends. For more tips on baking and scrumptious desserts, consider visiting Food Network for even more inspiration!
Variations on Cherry Pie Bars
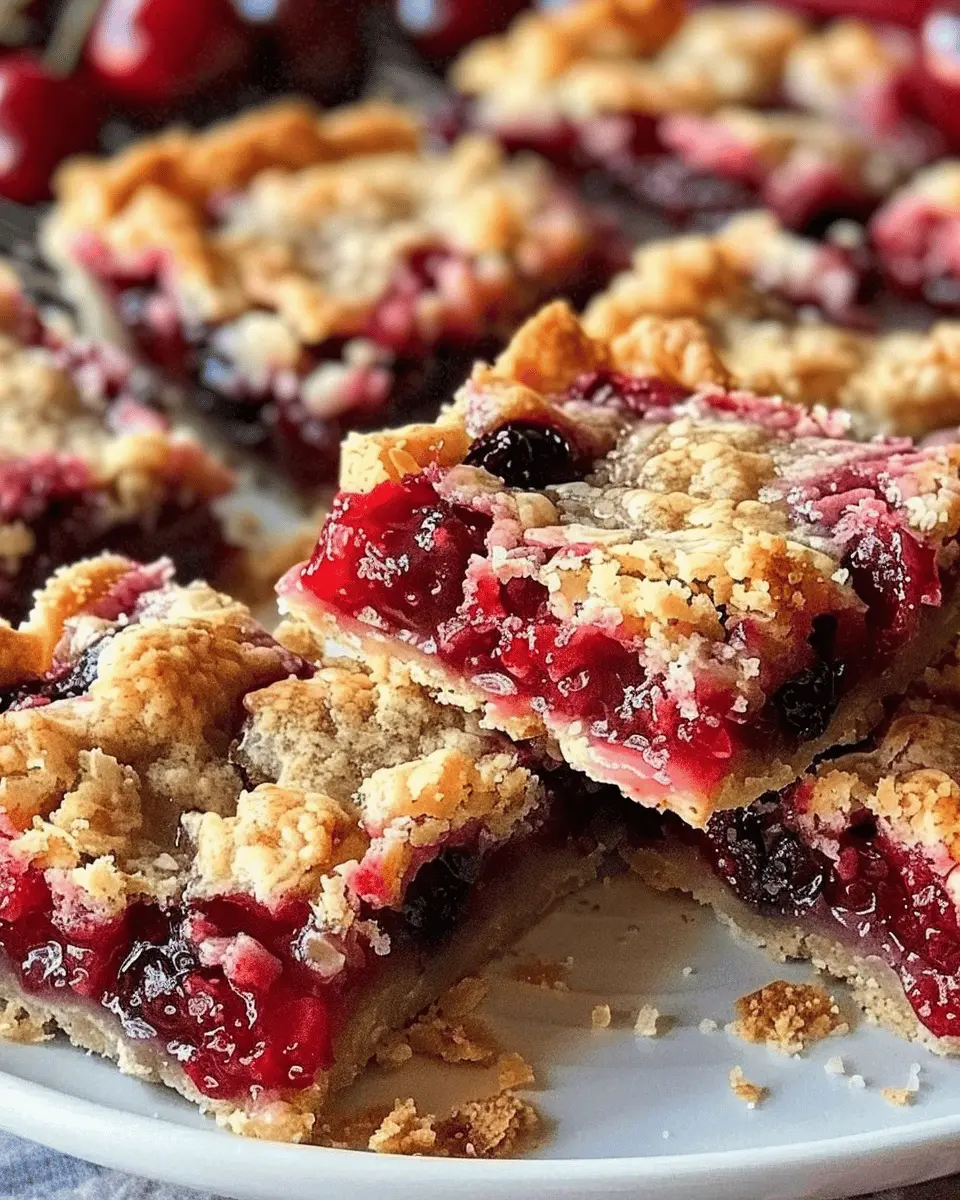
Switching up the fruit: Other pie filling options
While the classic cherry filling is a fan favorite, don’t shy away from exploring different fruit options in your Cherry Pie Bars Recipe. Here are a few ideas to get your creative juices flowing:
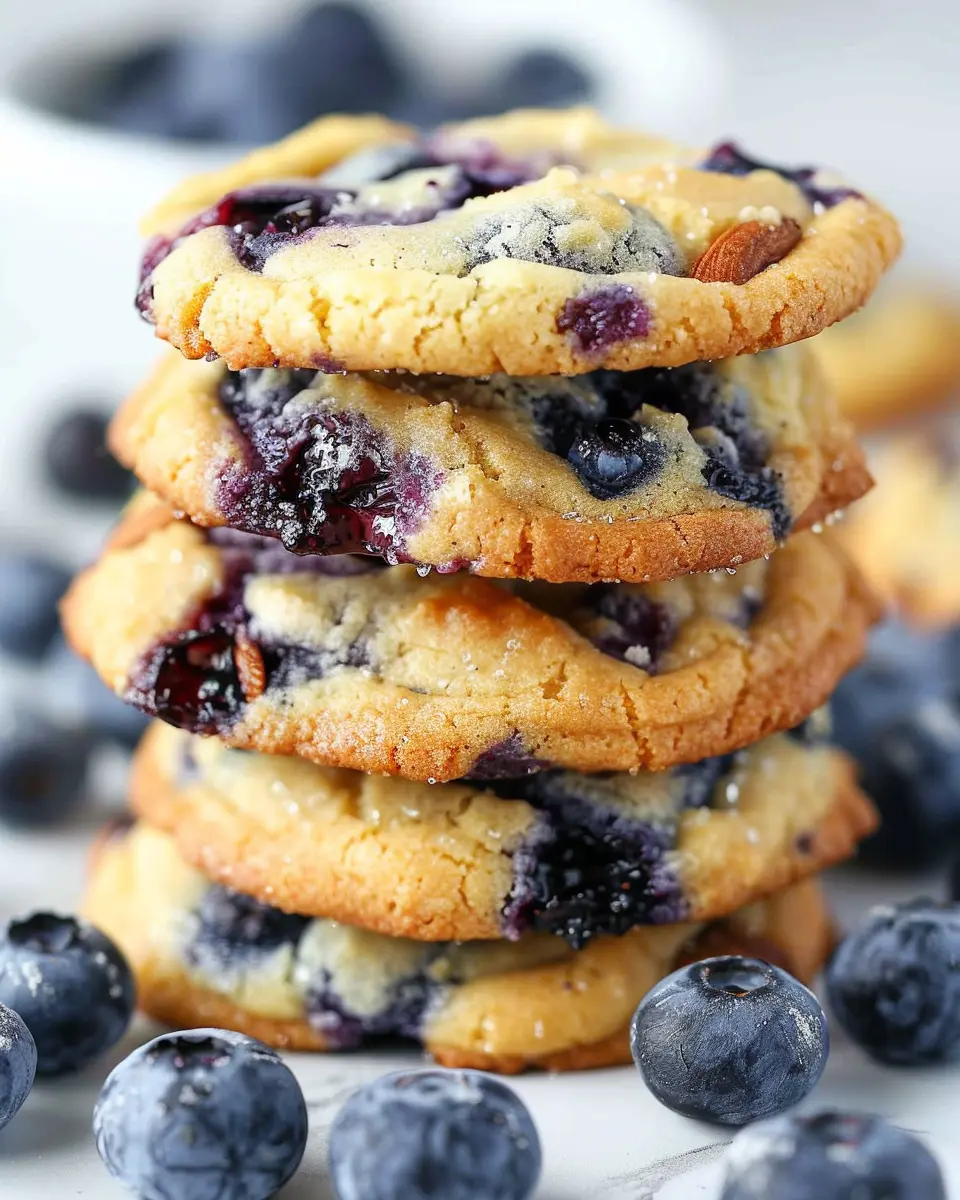
- Blueberries: A sweet and tangy option that pairs beautifully with a crumbly topping. Plus, blueberries are packed with antioxidants.
- Peaches: When in season, peaches bring a juicy and aromatic flavor that can transform your bars into a summertime treat.
- Raspberries: If you prefer a more tart kick, fresh or frozen raspberries make for a delicious alternative.
- Apple and Cinnamon: A comforting combination that’s perfect for fall—think warm scents wafting through your kitchen!
Switching up the fruit not only alters the flavor but can also add a delightful splash of color to your dessert table.
Gluten-free alternatives for the crust and topping
For those looking to enjoy these bars without gluten, there are several easy substitutions you can make. Using gluten-free flour or almond flour can create a crust that’s just as delicious as the original. Here’s how to adapt:
- Gluten-Free Blends: Look for a high-quality gluten-free flour blend; brands like Bob’s Red Mill or King Arthur offer excellent choices.
- Oats: You can swap regular oats for gluten-free oats in the topping for extra texture.
- Nut-Based Crust: For something a little different, consider a crust made from almond or coconut flour, which can lend a unique flavor.
By making these easy substitutions, you can ensure that everyone can enjoy your homemade cherry pie bars, regardless of dietary restrictions.
For more variations and tips like these, consider checking out resources such as King Arthur Baking for expert guidance on gluten-free baking!
Cooking Tips and Notes for Cherry Pie Bars
How to Store Leftovers
Storing your Cherry Pie Bars properly will keep them fresh and delicious! Once they’ve cooled completely, place them in an airtight container at room temperature. They should stay good for about 2-3 days. If you prefer them cold, pop them in the fridge. Just remember, if they’re refrigerated, let them sit out a bit before enjoying for the best texture.
Freezing for Later Enjoyment
Want to save some deliciousness for later? Freezing Cherry Pie Bars is a great option! Cut them into individual portions, then wrap each one tightly in plastic wrap and place them in a freezer-safe bag. They can last for up to three months in the freezer. When you’re ready to indulge, simply thaw them in the fridge overnight or let them sit at room temperature for a few hours.
For a fun twist, consider serving warm bars with a scoop of vanilla ice cream—this pairing is sure to impress your friends and family! For more storing tips, you can check out resources from Food Network and Serious Eats.
Serving Suggestions for Cherry Pie Bars
Best accompaniments to amplify flavor
To elevate your Cherry Pie Bars Recipe, consider pairing them with delightful accompaniments. A dollop of freshly whipped cream adds richness and balances the fruitiness of the cherries. For a unique twist, try serving them with a scoop of vanilla bean ice cream—the creaminess complements the bars perfectly! You can also sprinkle some chopped nuts on top for added crunch and a contrasting flavor.
If you’re looking for something more complex, consider a drizzle of chocolate sauce or a sprinkle of sea salt. This combination not only enhances the sweetness but also creates a delightful harmony of tastes. For those who enjoy beverages, a refreshing herbal tea or a tart lemonade can be a fantastic choice.
Presentation ideas for gatherings
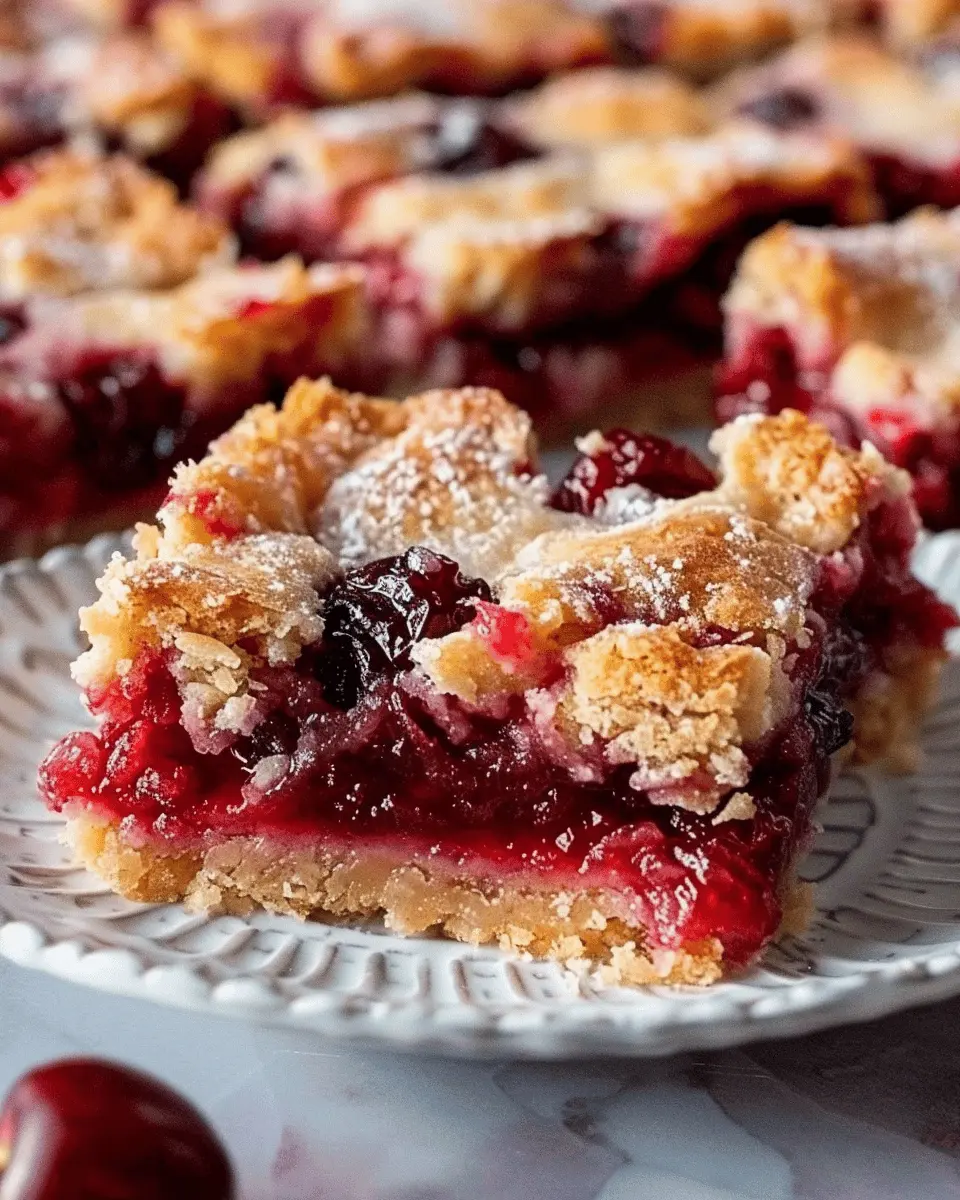
When it comes to serving your delicious cherry pie bars, presentation matters! Cut them into perfect squares and arrange them on a beautiful platter. Use decorative parchment paper for an elegant touch. For a pop of color, add fresh cherries or mint leaves as garnish.
If you’re hosting a gathering, consider layering the bars with a light dusting of powdered sugar. It gives a polished look, making your Cherry Pie Bars Recipe a centerpiece of any dessert spread. Personalizing your serving table with themed decorations can also enhance the atmosphere and delight your guests.
By combining these suggestions, you’ll create a memorable experience that complements the rich flavors of your cherry pie bars. For more inspiration, check out this guide on garnishing desserts.
Time Breakdown for Cherry Pie Bars
When you’re preparing your delightful Cherry Pie Bars, it’s always helpful to know how to manage your time effectively. Here’s a simple breakdown for your convenience:
Preparation time
Getting everything ready for your Cherry Pie Bars Recipe takes about 15-20 minutes. This includes gathering your ingredients and mixing that sweet, almond-scented filling. It’s a quick and easy process that sets the stage for the deliciousness to come.
Cooking time
The baking process requires around 30-35 minutes in the oven. Keep an eye on those adorable bars; they’ll take on that golden-brown hue, indicating they’re just about ready to be enjoyed.
Cooling and setting time
After baking, allow your Cherry Pie Bars to cool for at least an hour. This crucial step ensures that they set properly, making them easier to slice and serve. Patience pays off, trust me!
By managing these time segments effectively, you’ll be on your way to making perfectly scrumptious Cherry Pie Bars that everyone will love. For more insights on pie-making techniques, consider checking out Kiss My Slice, a great resource for bakers looking to refine their skills.
Nutritional Facts for Cherry Pie Bars
Calories and Macronutrients
Let’s dive into the nutritional profile of these delicious Cherry Pie Bars! Each serving typically contains about 200 calories, making it a delightful treat without the guilt. The bars offer a balance of macronutrients with approximately:
- Fat: 8g (mostly from the butter and crust)
- Carbohydrates: 32g (thanks to the cherries and sugar)
- Protein: 2g (from the flour and any egg used for binding)
This delicious cherry dessert can fit nicely into your dietary plans when enjoyed in moderation.
Benefits of Cherries
Not only are cherries a star ingredient in this Cherry Pie Bars Recipe, but they also pack a nutritional punch! These vibrant fruits are rich in antioxidants and anti-inflammatory compounds. Just a cup of cherries can provide a significant amount of Vitamin C and potassium.
Regular consumption of cherries has been linked to various health benefits, such as improved sleep quality and reduced muscle soreness. If you’re curious about how cherries can enhance your wellness journey, check out this informative guide on the health benefits of cherries.
Adding these Cherry Pie Bars to your dessert lineup not only satisfies your sweet tooth but also contributes positively to your overall health!
FAQs about Cherry Pie Bars Recipe
Can I use fresh cherries instead of canned?
Absolutely! Using fresh cherries in your Cherry Pie Bars Recipe can enhance the flavor significantly. Just make sure to pit and chop them before adding them to your filling. You’ll want to use about 2 to 3 cups of fresh cherries, which is roughly equivalent to a can of cherry pie filling. Fresh cherries have a bright, tart taste that can really elevate your dessert. If you’re interested in more details about the benefits of fresh fruit in baking, check out this insightful article from Healthline.
How do I make these bars gluten-free?
Making your Cherry Pie Bars gluten-free is easier than you might think! Simply substitute regular all-purpose flour with a gluten-free blend designed for baking. Many brands now offer one-to-one ratios that work beautifully in recipes like this one. Just be sure to check the packaging to confirm it contains xanthan gum, which helps mimic the texture of regular flour. You can also consider almond flour or coconut flour, but these will adjust the texture and flavor slightly.
What’s the best way to store cherry pie bars?
To keep your Cherry Pie Bars fresh, store them in an airtight container at room temperature for up to three days. If you need to keep them longer, refrigerating them can extend their lifespan to about a week. For even longer storage, consider freezing individual bars. Just wrap them tightly in plastic wrap and place them in a freezer-safe container. When you’re ready to enjoy them, allow them to thaw in the fridge overnight or at room temperature for a few hours.
Conclusion on Cherry Pie Bars Recipe
Reflecting on the joy of homemade desserts, making these delicious cherry pie bars is a delightful process. With each bite, you capture the comforting essence of classic cherry pie in a convenient bar form, perfect for sharing with friends or enjoying solo. The blend of sweet-tart cherries with a buttery crust truly makes it an irresistible treat.
So why not give this Cherry Pie Bars Recipe a try? Not only will you satisfy your sweet tooth, but you’ll also enjoy the satisfaction of pulling off a homemade dessert that impresses. Plus, there’s something inherently heartwarming about sharing your creations — it’s a great way to connect with loved ones. For more dessert ideas and inspiration, check out resources like Food Network or The Kitchn.
PrintCherry Pie Bars Recipe: Indulgent Treat for Your Sweet Tooth
Delight in the sweetness of these Cherry Pie Bars that combine the best of cherry pie in a bar format.
- Prep Time: 15 minutes
- Cook Time: 35 minutes
- Total Time: 50 minutes
- Yield: 15 bars 1x
- Category: Dessert
- Method: baking
- Cuisine: American
- Diet: vegetarian
Ingredients
- 2 cups all-purpose flour
- 1/2 cup granulated sugar
- 1/2 teaspoon salt
- 1 cup unsalted butter, softened
- 1 can (21 ounces) cherry pie filling
- 1 teaspoon almond extract
Instructions
- Preheat your oven to 350°F (175°C) and grease a 9×13 inch baking dish.
- In a bowl, combine flour, sugar, and salt.
- Add softened butter and mix until crumbly.
- Press half of the mixture into the bottom of the greased baking dish.
- Spread the cherry pie filling evenly over the crust.
- Sprinkle the remaining crumb mixture over the cherry filling.
- Bake for 30-35 minutes until the top is golden brown.
- Let it cool before cutting into bars.
Notes
- For added flavor, you can substitute the almond extract with vanilla extract.
- Serve with whipped cream for an extra treat.
Nutrition
- Serving Size: 1 bar
- Calories: 200
- Sugar: 10g
- Sodium: 150mg
- Fat: 10g
- Saturated Fat: 6g
- Unsaturated Fat: 3g
- Trans Fat: 0g
- Carbohydrates: 25g
- Fiber: 1g
- Protein: 2g
- Cholesterol: 30mg
Keywords: Cherry Pie Bars Recipe